Contents
All blogs / An introduction to AI programming with Bomberman (part 1)
An introduction to AI programming with Bomberman (part 1)
September 01, 2022 • Joy Zhang • Tutorial • 5 minutes

This is an introductory tutorial for anyone interested in building an agent for an AI programming competition or game. All you need to start is some familiarity with programming in Python.
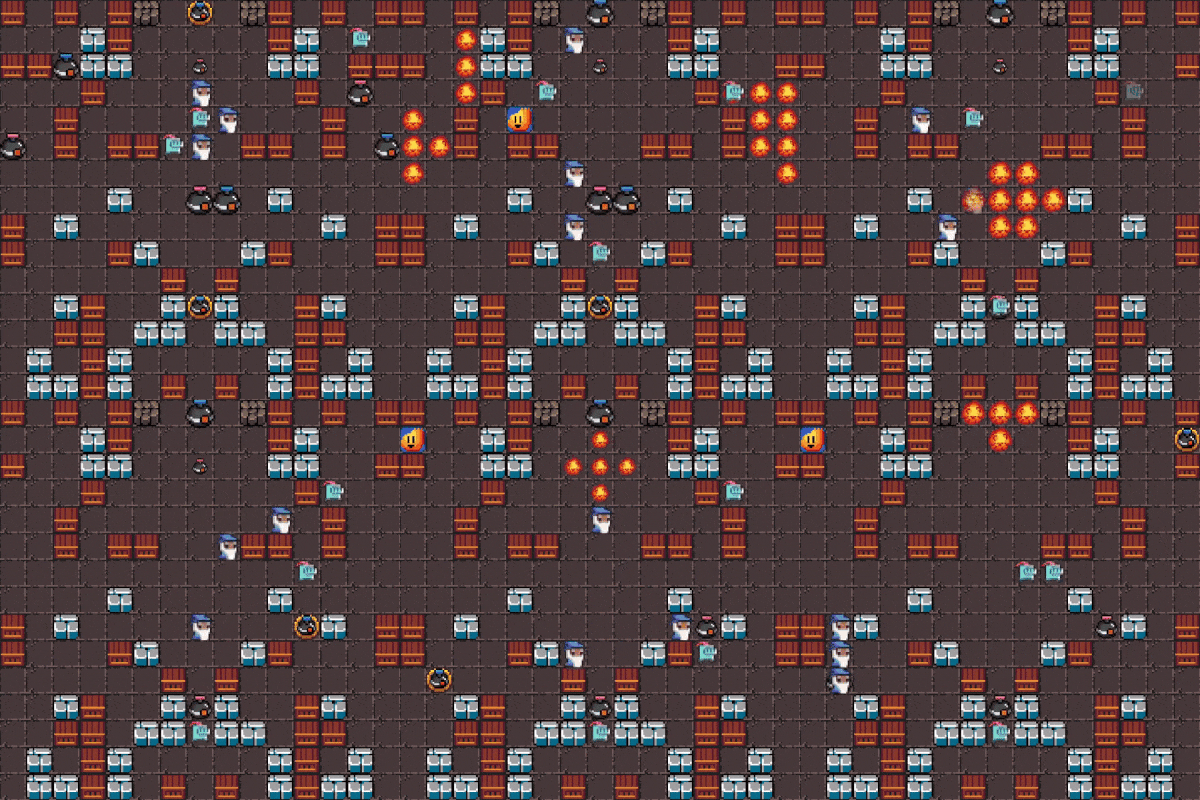
We'll be using a custom environment called Bomberland. It's inspired by the classic NES game Bomberman, but with some variations. This environment is currently featured in our Coder One tournament.

In this tutorial, we'll cover setting up the environment and implementing a basic agent.
Game environment overview
In Bomberland, you'll write an agent that can control a set of 3 units. The objective is to collect powerups and place bombs to take down all of your opponent's units.
For a full description of the game rules, check out the Environment Overview documentation.
Note: The graphics you see might look different, but the overall mechanics are the same!
Setting up the dev environment
First, install the game environment by following the Getting Started guide.
Next, open docker-compose.yml in the root folder. This file contains the setup for the environment — it will connect agents to the game engine, and set the default environment variables (starting HP, drop rate of powerups, etc.).
Environment variables
To change default environment variables, specify them within the game-engine>environment service. For this tutorial, we'll change WORLD_SEED and set it to 9999 (feel free to try any integer):
    game-engine:
        ...
        environment:
            ...
            - WORLD_SEED=9999
        ...
Each WORLD_SEED generates a different map (note: some seeds may not generate valid maps).
You'll want to vary the WORLD_SEED often (or randomise it by leaving it blank) to test your strategy in different maps. You can find a complete list of variables available to tweak in the Environment Flags documentation.
Connecting a second agent
If you followed the Getting Started guide earlier, you would have connected a single agent (Agent B), and played as Agent A. Uncomment the block as indicated below to connect Agent A.
agent-a:
    extends:
        file: base-compose.yml
        service: python3-agent-dev
    environment:
        - GAME_CONNECTION_STRING=ws://game-engine:3000/?role=agent&agentId=agentA&name=python3-agent-dev
    depends_on:
        - game-engine
    networks:
        - coderone-tournament

agent-b:
    extends:
        file: base-compose.yml
        service: python3-agent-dev
    environment:
        - GAME_CONNECTION_STRING=ws://game-engine:3000/?role=agent&agentId=agentB&name=python3-agent
    depends_on:
        - game-engine
    networks:
        - coderone-tournament
Save the file. Rebuild and run the environment by adding the --build flag:
docker-compose up --abort-on-container-exit --force-recreate --buildYou should add the --build flag whenever you make changes to either docker-compose.yml or base-compose.yml.
Spectating the game
Once the game has started, you can spectate via the client in your browser (by default, this should be at localhost:3000/game). From the client menu, select 'Spectator' for the Role. In this instance, you are spectating the starter agent playing against itself as both Agent A and Agent B.
At any point, you can use CTRL/CMD + C to stop the containers early.
Note: Switching agents
For the following sections, we'll be using the provided Python3 starter kit. Just as a note, you can switch out the starter kit by changing the field in service for any of the provided templates in base-compose.yml. E.g.:
# this will use the typescript starter agent
agent-b:
    extends:
        file: base-compose.yml
        service: typescript-agent-dev
    environment:
        - GAME_CONNECTION_STRING=ws://game-engine:3000/?role=agent&agentId=agentB&name=python3-agent
    depends_on:
        - game-engine
    networks:
        - coderone-tournament
# this is the corresponding starter agent in base-compose.yml
typescript-agent-dev:
build:
context: agents/typescript
dockerfile: Dockerfile.dev
volumes:
- ./agents/typescript:/appAn overview of the starter agent
You can find the starter agent script in agents/python3/agent.py (link).
The most important part of this script we'll be working with is async def _on_game_tick(self, tick_number, game_state). This method is called on each turn of the game (known as a 'tick') in which your agent can send at most one action per unit.
actions = ["up", "down", "left", "right", "bomb", "detonate"]

class Agent():
    ...

    async def _on_game_tick(self, tick_number, game_state):

        # get my units
        my_agent_id = game_state.get("connection").get("agent_id")
        my_units = game_state.get("agents").get(my_agent_id).get("unit_ids")

        # send each unit a random action
        for unit_id in my_units:

            action = random.choice(actions)

            if action in ["up", "left", "right", "down"]:
                await self._client.send_move(action, unit_id)
            elif action == "bomb":
                await self._client.send_bomb(unit_id)
            elif action == "detonate":
                bomb_coordinates = self._get_bomb_to_detonate(unit_id)
                if bomb_coordinates != None:
                    x, y = bomb_coordinates
                    await self._client.send_detonate(x, y, unit_id)
            else:
                print(f"Unhandled action: {action} for unit {unit_id}")
At a high level, the job of your Agent is to:
- Read the
game_stateobject containing information about the environment (e.g. position of other units and spawns). We'll cover more ongame_statelater. - Use the information to determine your Agent's strategy.
- Choose an action from
["up", "down", "left", "right", "bomb", "detonate"]according to your strategy. - Send a corresponding action packet to the game engine for each unit (this is already set up for you in the starter template).
This basic starter agent will randomly choose an action from the list of available actions.
At the most basic level, amend the starter script so that the agent only moves up, down, left, or right. E.g.:
async def _on_game_tick(self, tick_number, game_state):

    ...

    for unit_id in my_units:

        action = "up"

        ...
In the early stages, you'll probably lose most of your games just because your units are self-destructing themselves. Even this basic agent will likely outperform the Hello World agent you submitted earlier. Follow the submission instructions to create an image and upload it to the tournament.
Getting familiar with the game environment
In the previous section, we mentioned that your agent receives the object game_state. A list of the information you can find from game_state is documented in the Game State Definitions.
The most important ones for now are:
world: information about the world sizeagent_id: whether your agent is connected as Agent A or Bunit_ids: a list of unit identifiers (a, b, c, d, e, f) which belong to your agentunit_state: object containing important information about a particular unit (e.g. location, HP, blast radius)
Below are some examples of use cases for these properties, given game_state. Have a go at filling in the gaps yourself, and checking them against the provided answers.
# get unit c's current location
unit_c_location = pass     ### CHANGE THIS
See solution
# get unit c's current location
unit_c_location = game_state["unit_state"]["c"]["coordinates"]    ### returns unit c's location in [x, y]-coordinates
# get the width and height of the Game Map
width = pass ### CHANGE THIS
height = pass ### CHANGE THISSee solution
# get the width and height of the Game Map
width = game_state["world"]["width"]
height = game_state["world"]["height"]
# print the location of all the bombs placed on the Game Map
list_of_bombs = []
for entity in game_state["entities"]:
if entity["type"] == None: ### Change 'None'
list_of_bombs.append(entity)
for bomb in list_of_bombs:
print(f"Bomb at x: {None} y: {None}") ### Change 'None'See solution
list_of_bombs = []
for entity in game_state["entities"]:
    if entity["type"] == "b":
        list_of_bombs.append(entity)

for bomb in list_of_bombs:
    print(f"Bomb at x: {bomb['x']} y: {bomb['y']}")

# alternatively
entities = game_state["entities"]
list_of_bombs = list(filter(lambda entity: entity["type"] == "b", entities))

for bomb in list_of_bombs:
    print(f"Bomb at x: {bomb['x']} y: {bomb['y']}")
Next Steps
Feel free to try playing around with the environment and building your own agent!
When you're ready, check out the next part of the tutorial where we'll implement some basic logic to create an agent that can determine free tiles nearby, and move to them.
