Contents
All blogs / Proximal Policy Optimization (PPO) with Unity ML-Agents
Proximal Policy Optimization (PPO) with Unity ML-Agents
September 22, 2021 • Joy Zhang • Tutorial • 4 minutes
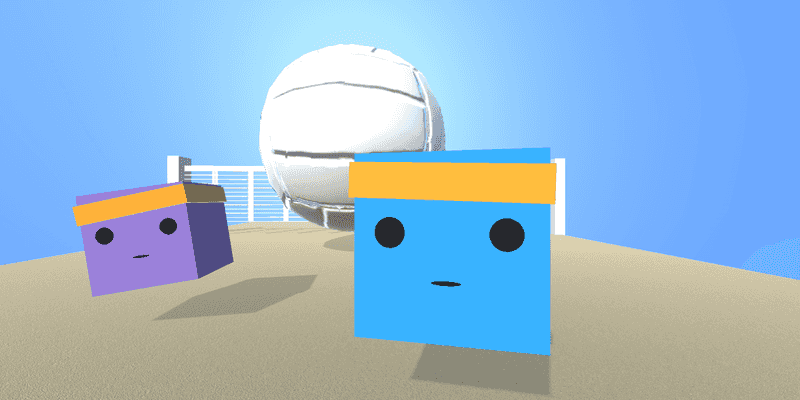
This article is part 4 of the series 'A hands-on introduction to deep reinforcement learning using Unity ML-Agents'. It's also suitable for anyone interested in using Unity ML-Agents for their own reinforcement learning project.
Sections
- Part 1: Getting started with Unity ML-Agents
- Part 2: Build a reinforcement learning environment using Unity ML-Agents
- Part 3: Design reinforcement learning agents using Unity ML-Agents
- Part 4: Training an agent using PPO with Unity ML-Agents (this post)
- Part 5: Self-play with Unity ML-Agents
Recap and overview
In parts 2 and 3, we built a volleyball environment using Unity ML-Agents.
To recap, here is the reinforcement learning setup:
- Agent actions (4 discrete branches):
- Move forward/backward
- Rotate clockwise/anti-clockwise
- Move left/right
- Jump
- Agent observations:
- Agent's y-rotation [1 float]
- Agent's x,y,z-velocity [3 floats]
- Agent's x,y,z-normalized vector to the ball (i.e. direction to the ball) [3 floats]
- Ball's x,y,z-velocity [3 floats]
- Reward function: +1 for hitting the ball over the net
In this tutorial, we'll use ML-Agents to train these agents to play volleyball using the PPO reinforcement learning algorithm.
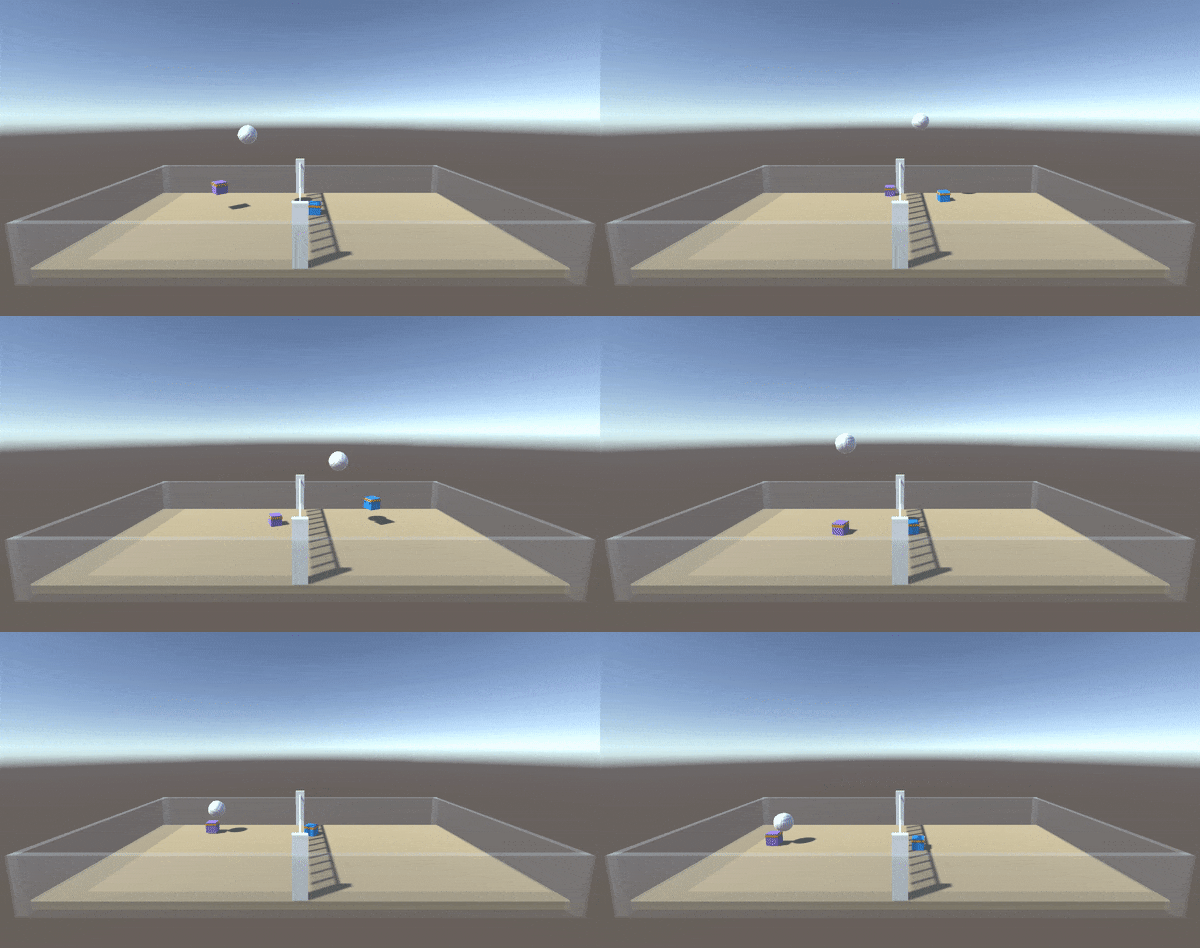
A note on PPO
Proximal Policy Optimization (PPO) by OpenAI is an on-policy reinforcement learning algorithm. We won't go into detail, but we choose to use it here because ML-Agents provides an implementation of it out-of-the-box. It produces stable results in this environment and is also recommended by ML-Agents for use with Self-Play (which we'll cover in the next tutorial).
Setting up for training
If you didn't follow along with the previous tutorials, you can clone or download a copy of the volleyball environment here:
If you did follow along with the previous tutorials:
- Load the
Volleyball.unityscene - Select the
VolleyballAreaobject - Ctrl (or CMD) + D to duplicate the object
- Position the
VolleyballAreaobjects so that they don't overlap - Repeat 2 - 4 until you have ~16 copies of the environment
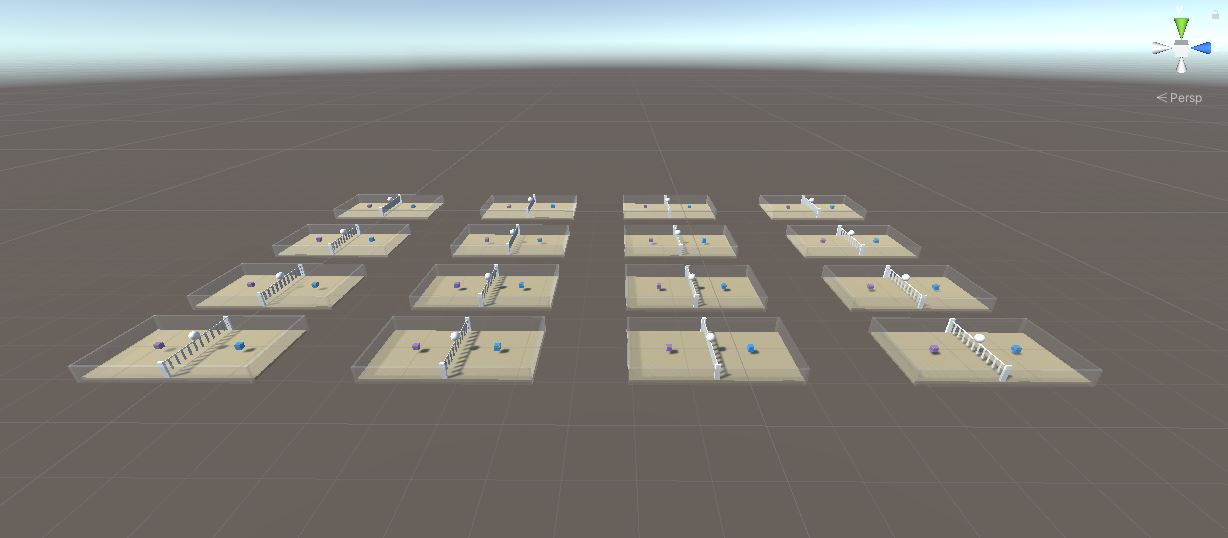
Each
VolleyballAreaobject is an exact copy of the reinforcement learning environment. All these agents act independently but share the same model. This speeds up training, since all agents contribute to training in parallel.
Selecting hyperparameters
In your project working directory, create a file called Volleyball.yaml. If you've downloaded the full Ultimate-Volleyball repo earlier, this is located in the config folder.
Volleyball.yaml is a trainer configuration file that specifies all the hyperparameters and other settings used during training. Paste the following inside Volleyball.yaml:
behaviors:
  Volleyball:
    trainer_type: ppo
    hyperparameters:
      batch_size: 2048
      buffer_size: 20480
      learning_rate: 0.0002
      beta: 0.003
      epsilon: 0.15
      lambd: 0.93
      num_epoch: 4
      learning_rate_schedule: constant
    network_settings:
      normalize: true
      hidden_units: 256
      num_layers: 2
      vis_encode_type: simple
    reward_signals:
      extrinsic:
        gamma: 0.96
        strength: 1.0
    keep_checkpoints: 5
    max_steps: 20000000
    time_horizon: 1000
    summary_freq: 20000
Descriptions of the configurations are available in the ML-Agents official documentation.
Training
- Make sure that Behavior Types are set to
Default:- Open Assets > Prefabs >
VolleyballArea.prefab - Select the
PurpleAgentobject - Go to Inspector window > Behavior Parameters > Behavior Type > Set to
Default - Repeat for Blue Agent
- Open Assets > Prefabs >
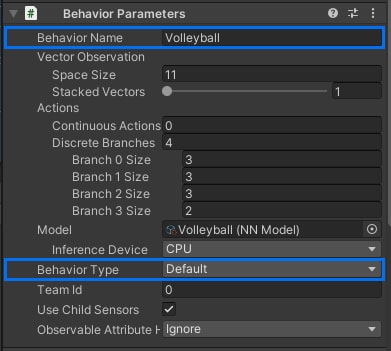
Note: the Behavior Name (Volleyball) above must match the behavior name in the
Volleyball.yamltrainer config file (line 2).
(Optional) Set up a training camera so that you can view the whole scene while training.
- If using the pre-built repo, select the Main Camera and turn it off in the Inspector.
- If using your own project, create a camera object: right click in Hierarchy > Camera.

Activate the virtual environment containing your installation of
ml-agents.Navigate to your working directory, and run in the terminal:
mlagents-learn <path to config file> --run-id=VB_1 --time-scale=1- Notes:
- Replace
<path to config file>, e.g.config/Volleyball.yaml - ML-Agents defaults to a time scale of 20x to speed up training. Setting the flag
--time-scale=1is important because the physics in this environment are time-dependant. Without it, you may notice that your agents perform differently during inference compared to training.
- Replace
When you see the message "Start training by pressing the Play button in the Unity Editor", click ▶ within the Unity GUI.
In another terminal window, run
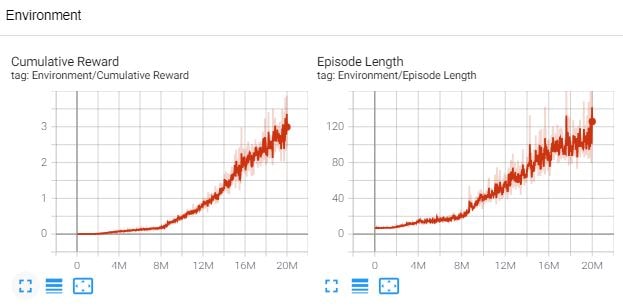
tensorboard --logdir resultsfrom your working directory to observe the training process.
You can pause training at any time by clicking the ▶ button in Unity. To see how the agents are performing:
- Locate the results in
results/VB_1/Volleyball.onnx - Copy this .onnx model into the Unity project
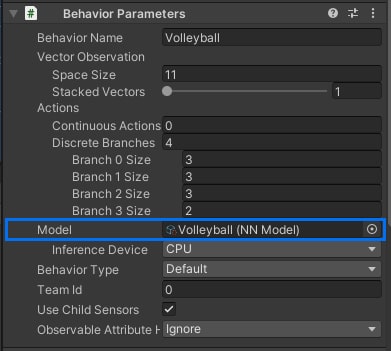
- Drag the model into the
Modelfield of the Behavior Parameters component. - Click ▶ to watch the agents use this model for inference.
- Locate the results in
To resume training, add the
--resumeflag (e.g.mlagents-learn config/Volleyball.yaml --run-id=VB_1 --time-scale=1 --resume)
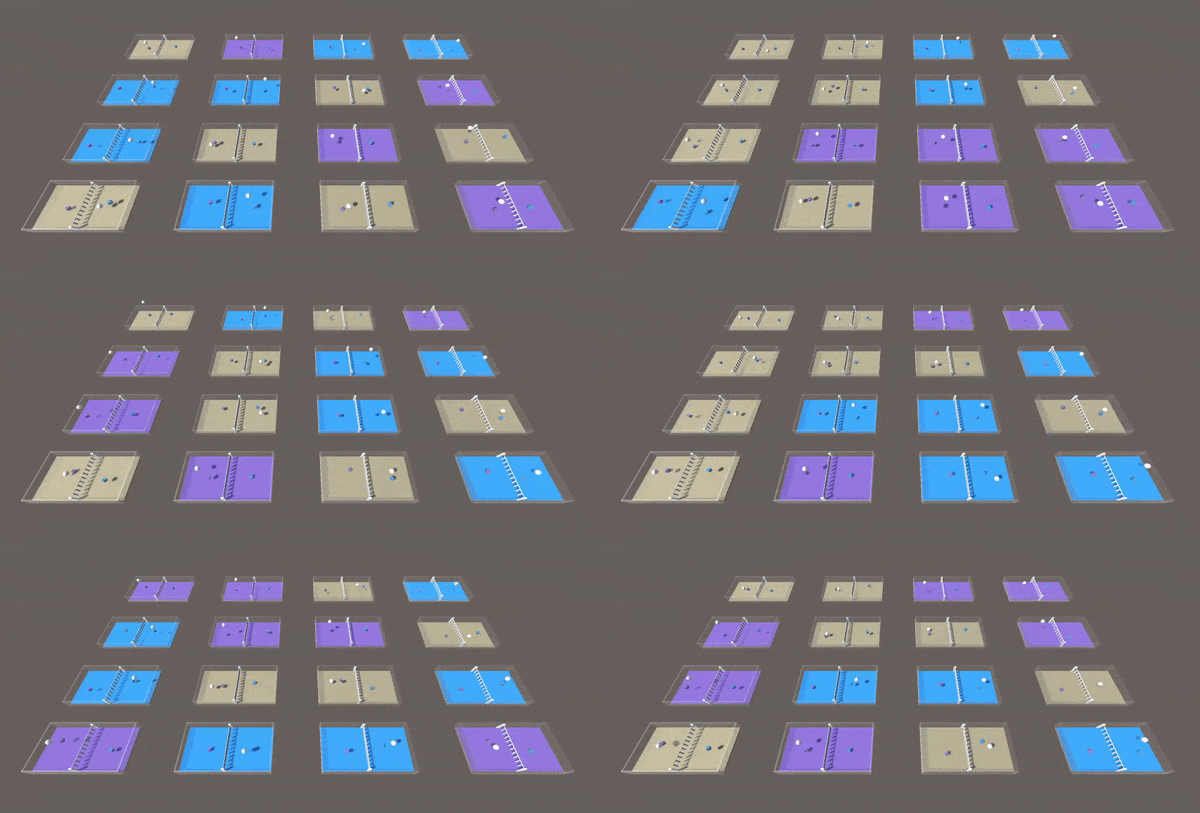
- Leave the agents to train. At about ~5M you'll start to see the agents occasionally touching the ball. At ~10M the agents can start to volley:
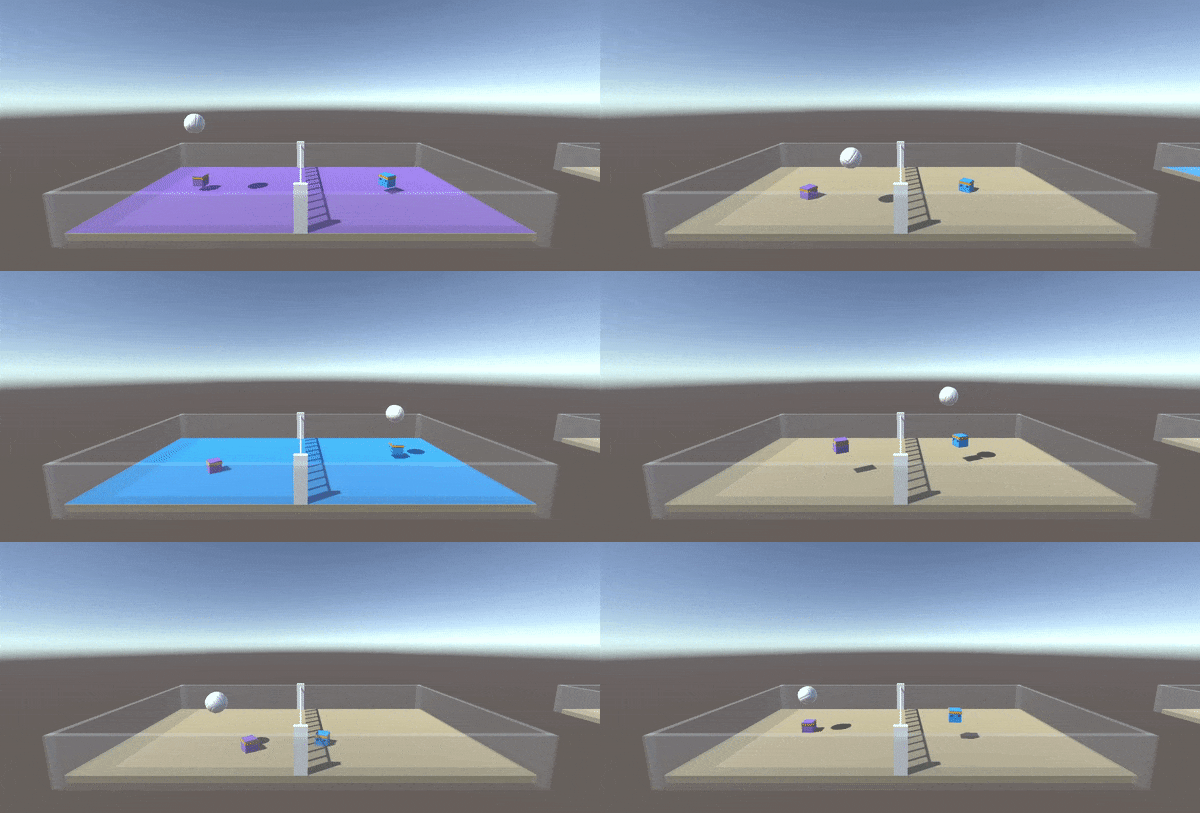
- At ~20M steps, the agents should be able to successfully volley the ball back-and-forth!

Next steps
In this tutorial, you successfully trained agents to play volleyball in ~20M steps using PPO. Try playing around with the hyperparameters in Volleyball.yaml or training for more steps to get a better result.
These agents are trained to keep the ball in the play. You won't be able to train competitive agents (with the intention of winning the game) with this setup because its a zero-sum game and both purple and blue agents share the same model. This is where competitive Self-Play comes in.
